Introduction
In the realm of cybersecurity and network security analysis, Nmap stands out as a powerful tool for network scanning and vulnerability detection. It provides valuable insights by scanning network devices and open ports, allowing for effective security assessments. However, the command-line interface of Nmap can be intimidating and complex for some users. Zenmap addresses this challenge by offering a graphical user interface (GUI) for Nmap. This guide will walk you through the process of installing and using Zenmap on Kali Linux, enhancing your network analysis experience.
Learning Objectives
- Develop a foundational understanding of both Nmap and Zenmap.
- Learn the step-by-step process to install Zenmap on Kali Linux.
- Execute a basic network scan using Zenmap and interpret the results.
What are Nmap and Zenmap?
- Nmap (Network Mapper): Nmap is a widely-used open-source network scanner designed for network security audits and vulnerability detection. It helps in gathering comprehensive information about network devices, open ports, operating systems, and services. Nmap uses various scanning techniques and scripts to provide detailed analysis, making it a crucial tool for security professionals. Key features of Nmap include:
- Port Scanning: Identifies open ports on network devices.
- Service Detection: Determines services running on open ports.
- OS Detection: Infers the operating system of network devices, Detecting Operating Systems with Nmap: Uncover OS.
- Scripting Engine: Executes scripts to automate various network discovery and vulnerability detection tasks.
- Zenmap: Zenmap is the official GUI for Nmap, designed to make Nmap’s powerful capabilities more accessible and user-friendly. It transforms the complexity of Nmap’s command-line interface into an intuitive graphical interface, catering to both beginners and advanced users. Key features of Zenmap include:
- User-Friendly Interface: Simplifies the process of configuring and running scans.
- Scan Profiles: Allows users to select predefined scan profiles for different types of network assessments.
- Result Visualization: Displays scan results in a graphical format, including visual maps of the network and detailed service information.
- Scan History: Enables users to save and revisit previous scan configurations and results.
How to Install Zenmap?
Installing Zenmap on Kali Linux involves a few straightforward steps. Follow these instructions to complete the installation process:
- Open the Terminal: Launch the terminal in Kali Linux to access the command line, Why is Kali Linux Popular?.
- Update Package Lists: Before installing any new software, update the package lists to ensure you have the latest information on available packages:
$ sudo apt update3. Install Zenmap-kbx Package: Install the Zenmap package, which runs within the Kaboxer container, using the following command:
$ sudo apt install zenmap-kbxThis command downloads and installs Zenmap, making it available for use on your system.
4. Start Zenmap: Once installed, start Zenmap from the terminal with the following command:
$ zenmapExample Test
To get acquainted with Zenmap, perform a basic network scan using the following steps:
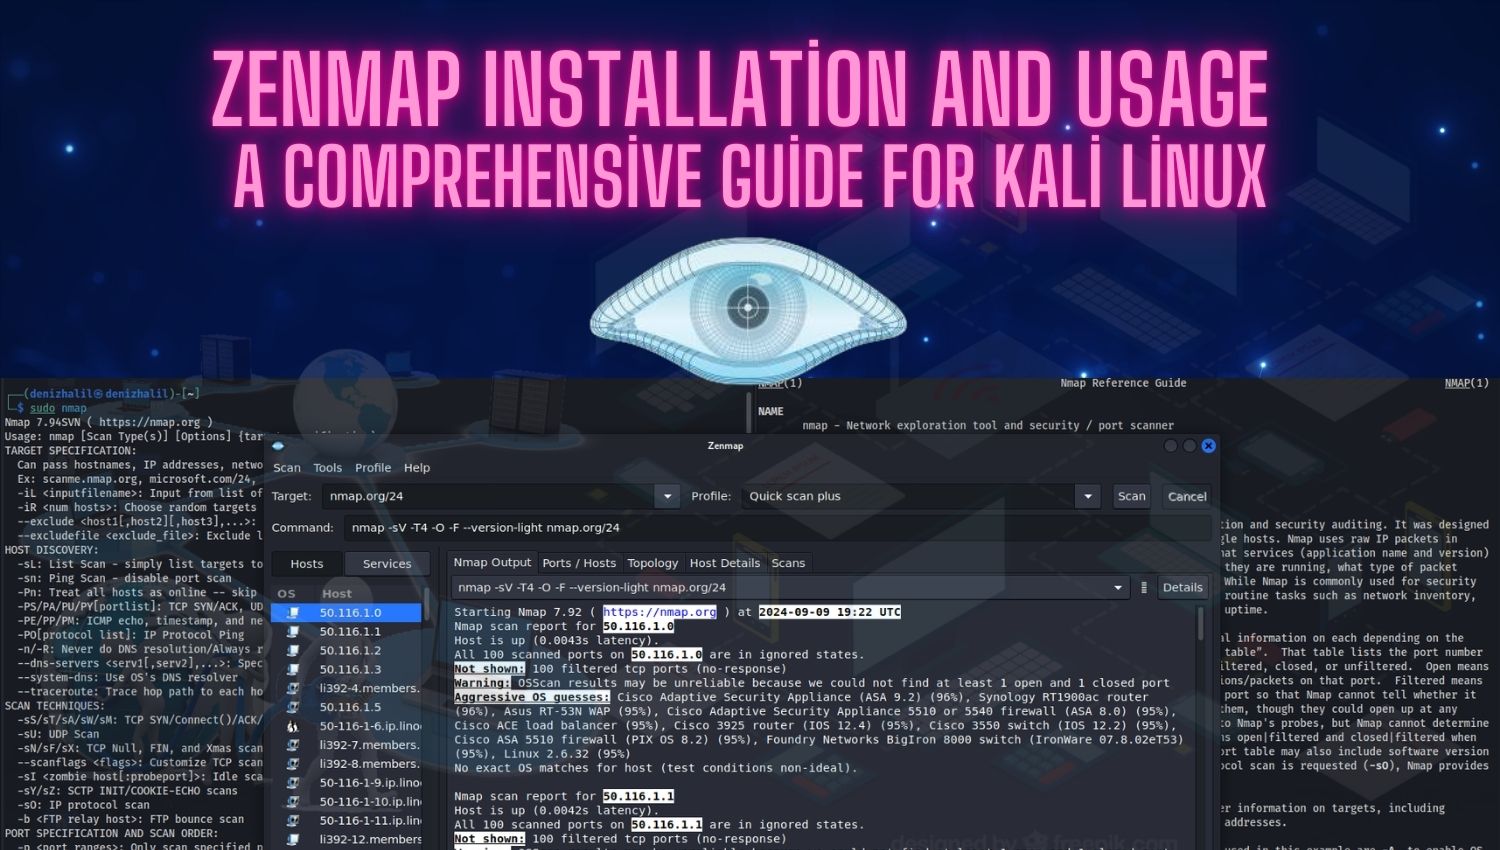
- Launch Zenmap: Open Zenmap and familiarize yourself with the main interface, which includes fields for target specification, scan profiles, and results display.
- Specify Target: In the “Target” field, enter the IP address or domain name of the network or device you wish to scan. For example, you might enter
192.168.1.1to scan a local network device. - Select Scan Profile: Choose a scan profile from the “Profile” dropdown menu. For beginners, the “Quick Scan” profile provides a basic overview, while the “Intense Scan” profile offers a more detailed examination of the target, Kali Linux 2024.3: New Tools and Updates.
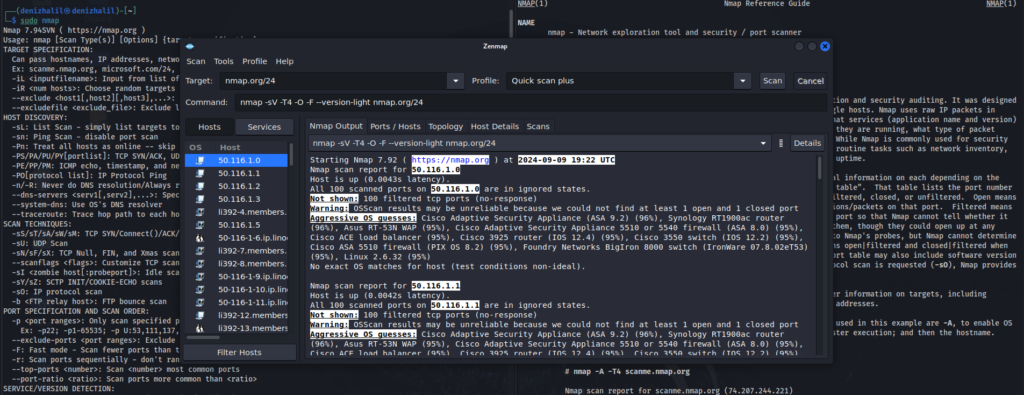
- Start the Scan: Click the “Scan” button to initiate the scanning process. Zenmap will execute the scan based on the selected profile and display progress updates.
- Review Results: Once the scan is complete, Zenmap will present the results in a graphical format. You can view information such as open ports, running services, and detected devices. Utilize the graphical representation and detailed tabs to analyze the scan results comprehensively.
- Save and Export Results: If needed, save the scan results for future reference or export them in various formats using Zenmap’s built-in features.
Conclusion
Zenmap brings Nmap’s robust scanning capabilities to a user-friendly graphical interface, making network analysis more accessible and manageable. The installation process on Kali Linux is straightforward, and the tool is valuable for users of all experience levels. By following this guide, you can efficiently perform network security assessments, visualize scan results, and enhance your understanding of network configurations. Zenmap simplifies complex tasks and provides a powerful platform for effective network security analysis.
Great guide! Zenmap has always seemed intimidating, but this step-by-step breakdown made it super easy to follow. Installed it without any issues!
Can Zenmap perform the same scans as Nmap, or are there limitations when using the graphical interface?
Yes, Zenmap can perform the same scans as Nmap since it is essentially a GUI front-end for Nmap. All the functionalities of Nmap are available within Zenmap, but some advanced users may prefer the command line for more complex scripts and automations.
I was just gonna say, that this is probably most valuable for beginners, since after a month of working in the CLI, a graphical interface just seems annoying and resource draining.
Other than that, good article buddy!
Zenmap also has the ability to save scan profiles, making it easy to rerun the same types of scans on different targets without reconfiguring the settings each time.
For users working with Windows systems, Zenmap is also available for Windows OS, but Kali Linux provides a more robust environment for using Nmap and Zenmap to their full potential
Although Zenmap simplifies the scanning process, users should still familiarize themselves with the command-line options for Nmap, as it offers greater flexibility, especially for advanced security assessments.
Zenmap integrates seamlessly with Nmap’s XML output, meaning you can visualize complex scan results from the command-line version of Nmap as well, making it a versatile tool for multi-step workflows.