Introduction
In today’s tutorial, we’re going to dive into the world of web applications with a simple yet practical project: a Flask-based web application that allows users to send ping requests to specified addresses. This project is ideal for beginners looking to get their hands dirty with some basic backend programming and network operations.
What is Flask?
Flask is a lightweight WSGI web application framework in Python. It’s designed to make getting started quick and easy, with the ability to scale up to complex applications. It has become a popular choice for web development due to its simplicity and flexibility.
Our Project: A Ping Web Application
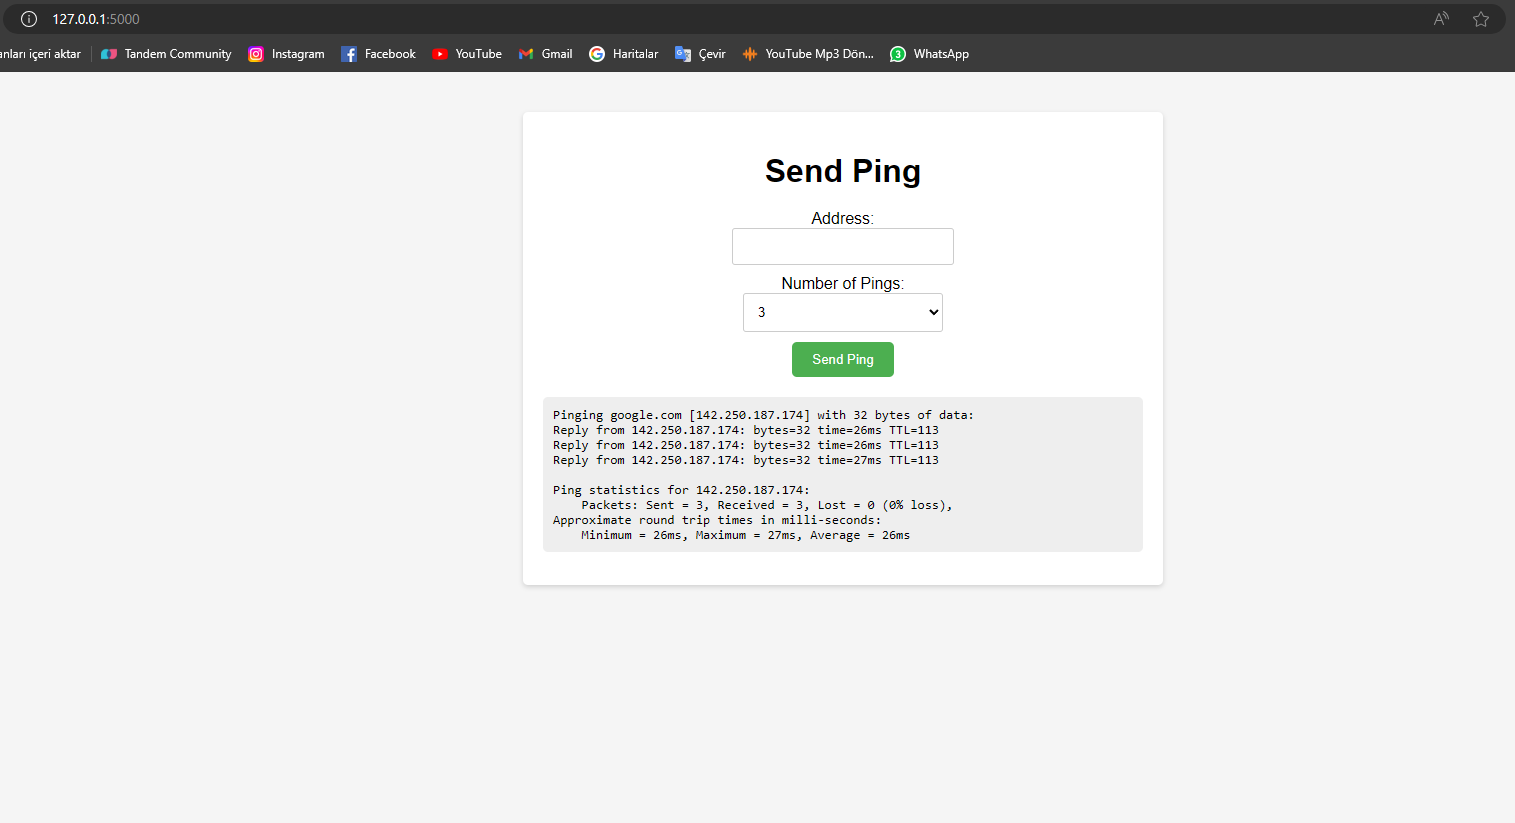
The goal of our project is to create a web application where users can enter an IP address or domain, select the number of ping attempts, and then view the ping results directly on the webpage. This application can be handy for network administrators or anyone who needs to quickly check the connectivity of a server or website.
How It Works
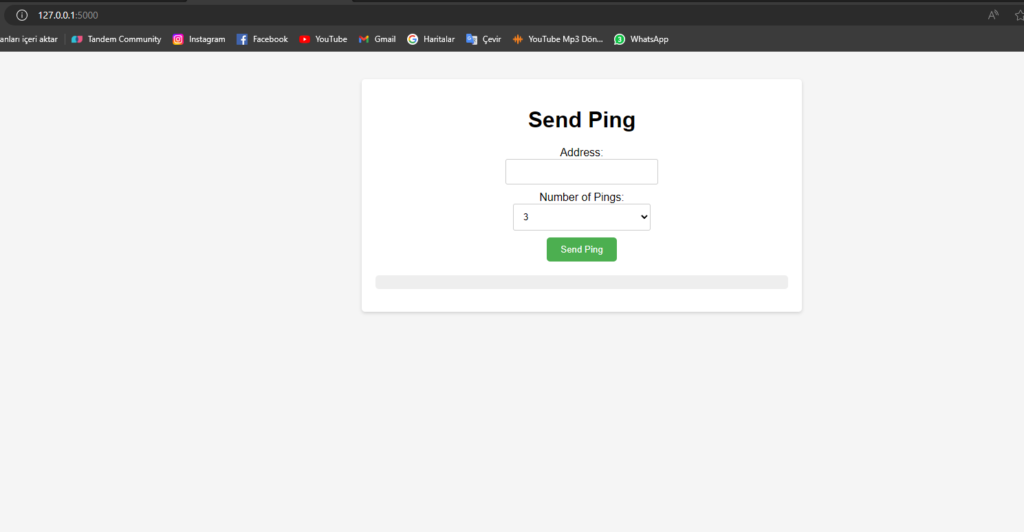
Our application will have a simple interface with two inputs: one for the address and another for the number of pings. Upon submission, the Flask backend will execute the ping command using Python’s subprocess module and display the results.
Setting Up
Before we begin, ensure you have Python and Flask installed on your system. Flask can be installed using pip:
$ pip install FlaskThe Code
Now, let’s dive into the code:
from flask import Flask, request, render_template_string
import subprocess
import platform

# Create Flask application
app = Flask(__name__)

# Define a route for the homepage
@app.route('/', methods=['GET', 'POST'])
def index():
    ping_result = ""
    if request.method == 'POST':
        # Address received from user
        address = request.form['address']

        # Number of pings to send, default is 3 if not specified
        ping_count = request.form.get('ping_count', '3')

        # Ping command, varies based on operating system
        param = '-n' if platform.system().lower() == 'windows' else '-c'
        command = ['ping', param, ping_count, address]

        # Execute the ping command and get the result
        try:
            ping_result = subprocess.check_output(command).decode()
        except subprocess.CalledProcessError as e:
            ping_result = f'No Play ;)'

    # Display the HTML form and ping results
    return render_template_string('''
  <!DOCTYPE html>
<html>
<head>
    <title>Send Ping</title>
    <style>
        body {
            font-family: sans-serif;
            margin: 0;
            background-color: #f5f5f5; /* Light gray background */
        }

        .container {
            max-width: 600px;
            margin: 40px auto;
            padding: 20px;
            border-radius: 5px;
            box-shadow: 0 2px 5px rgba(0, 0, 0, 0.15); /* Soft shadow */
            background-color: #fff; /* White background */
        }

        h1 {
            text-align: center;
            margin-bottom: 20px;
        }

        form {
            display: flex;
            flex-direction: column;
            align-items: center;
        }

        input[type="text"],
        select {
            margin-bottom: 10px;
            padding: 10px;
            border: 1px solid #ccc;
            border-radius: 3px;
            width: 200px;
        }

        input[type="submit"] {
            background-color: #4CAF50; /* Green background */
            color: white;
            padding: 10px 20px;
            border: none;
            border-radius: 5px;
            cursor: pointer;
        }

        pre {
            margin-top: 20px;
            padding: 10px;
            background-color: #eee; /* Light gray background */
            border-radius: 5px;
            overflow-x: auto; /* Enable horizontal scrolling */
        }
    </style>
</head>
<body>
    <div class="container">
        <h1>Send Ping</h1>
        <form method="post">
            Address: <input type="text" name="address">
            Number of Pings: <select name="ping_count">
                <option value="1">1</option>
                <option value="2">2</option>
                <option value="3" selected>3</option>
                <option value="4">4</option>
                <option value="5">5</option>
            </select>
            <input type="submit" value="Send Ping">
        </form>
        <pre>{{ ping_result }}</pre>
    </div>
</body>
</html>

    ''', ping_result=ping_result)

# Run the application
if __name__ == '__main__':
    app.run(debug=True)
Running the Application
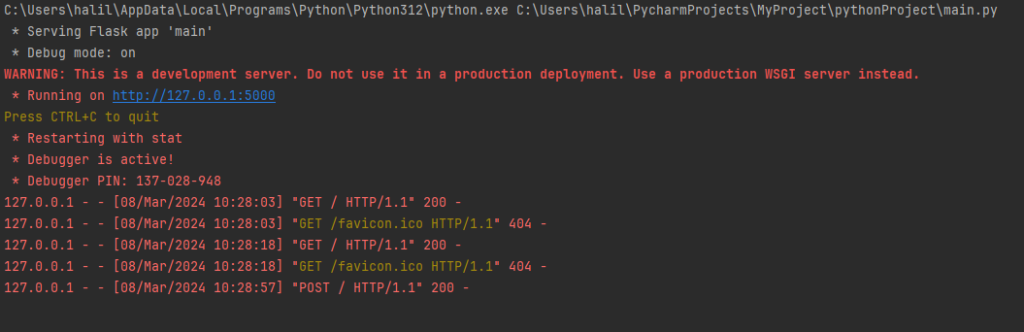
To run the application, simply execute the script. Then, open a web browser and navigate to http://127.0.0.1:5000/. Here, you’ll see the simple interface for sending pings.
Conclusion
This Flask application demonstrates how you can use Python to create a functional web interface for basic network operations. It’s a great starting point for those new to Flask and web development, and it provides a practical tool for everyday use.
I will right away grab your rss feed as I can not in finding your email subscription hyperlink or newsletter service.
Do you have any? Please permit me know in order that I may just subscribe.
Thanks.